Rendero and ArchRender at a glance
ArchRender supports both image-based rendering and direct 3D model imports. Its public product pages describe camera and environment controls, moodboards, prompt-driven edits and project organization.
Documented capabilities
Competitor sources reviewed 8 Sep 2026
Rendero
- Input
- A sketch, clay render, model-view export or existing image saved as PNG, JPG or WebP.
- Editing workflow
- Generate an image from your source, then guide revisions with prompts, selected regions and the reference options supported by your engine.
- Design review
- Compare the camera, openings and material boundaries with the source. Apply accepted design changes to your model and project documents.
ArchRender
- Input
- Drawings, sketches, photos, existing renders and supported 3D model files
- Editing workflow
- Render and Edit modes, prompts, moodboards, model-view and environment controls
- Design review
- Compare the generated image with the source design
Open full specification table
| Decision | Rendero | ArchRender |
|---|---|---|
| Input | A sketch, clay render, model-view export or existing image saved as PNG, JPG or WebP. | Drawings, sketches, photos, existing renders and supported 3D model files |
| Editing workflow | Generate an image from your source, then guide revisions with prompts, selected regions and the reference options supported by your engine. | Render and Edit modes, prompts, moodboards, model-view and environment controls |
| Design review | Compare the camera, openings and material boundaries with the source. Apply accepted design changes to your model and project documents. | Compare the generated image with the source design |
Inspect two published source-view examples
How credits work
Free accounts receive 50 starting credits once at signup. These credits do not refill each month.
Rendering charges vary with the model, resolution and, for some engines, processing time. Upscaling uses additional credits. The app shows your remaining balance.
Allow for retries and edits when planning a project. A credit balance does not represent a fixed number of finished images.
Setting the view before you render
ArchRender's model-import workflow includes angle, field-of-view and aspect-ratio controls. It advertises OBJ and FBX among its supported model imports. Its image workflow also accepts drawings and photos. If you have a model to work with, you can prepare the view inside ArchRender.
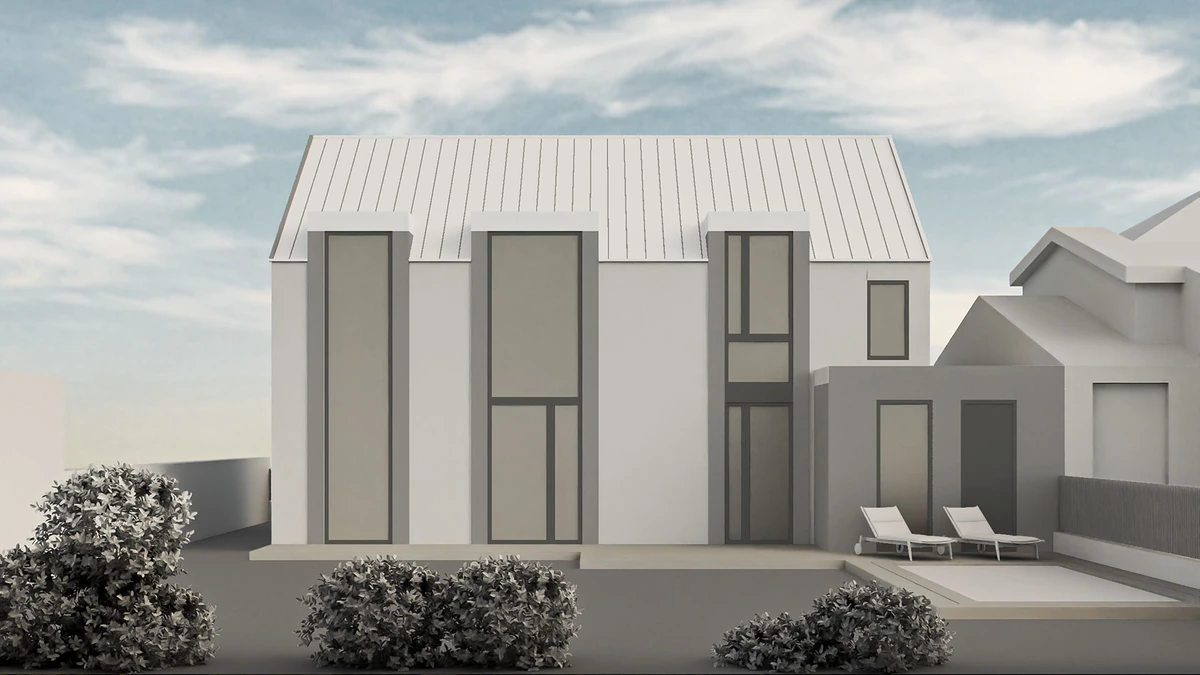
For Rendero, choose the camera in your modeling application and export the view as an image. A clay render or viewport capture keeps the starting composition explicit. Keep that source export with the generated versions so you can compare window positions, roof edges and other fixed design decisions.
Changing materials after the first image
ArchRender has Render and Edit modes, prompt controls and moodboard input. It keeps source files and generated versions together in a project. Rendero offers segment selection, reference guidance and engine choice for image refinement; available engines and resolutions depend on your plan.
When comparing the two, include the work before the first generation. A new camera angle may require a fresh image export for Rendero, while a supported model in ArchRender has view controls. The resulting AI image still needs inspection against the model. Model import alone does not establish that generated details are correct.
Our base-image guide explains how to prepare a readable source view. Rendero product facts and current plans cover the image workflow and plan options.