Using Rendero
- What to bring
- One source image and one intended change to compare across the models available in your account.
- What you can do
- Choose from the model and 1K, 2K or 4K options available on your plan. Reference support and delivered image dimensions vary by model; check the downloaded result.
- What to check
- Compare the edited area and its surroundings against the same source. Include rejected attempts and corrections when assessing the result and its credit use.
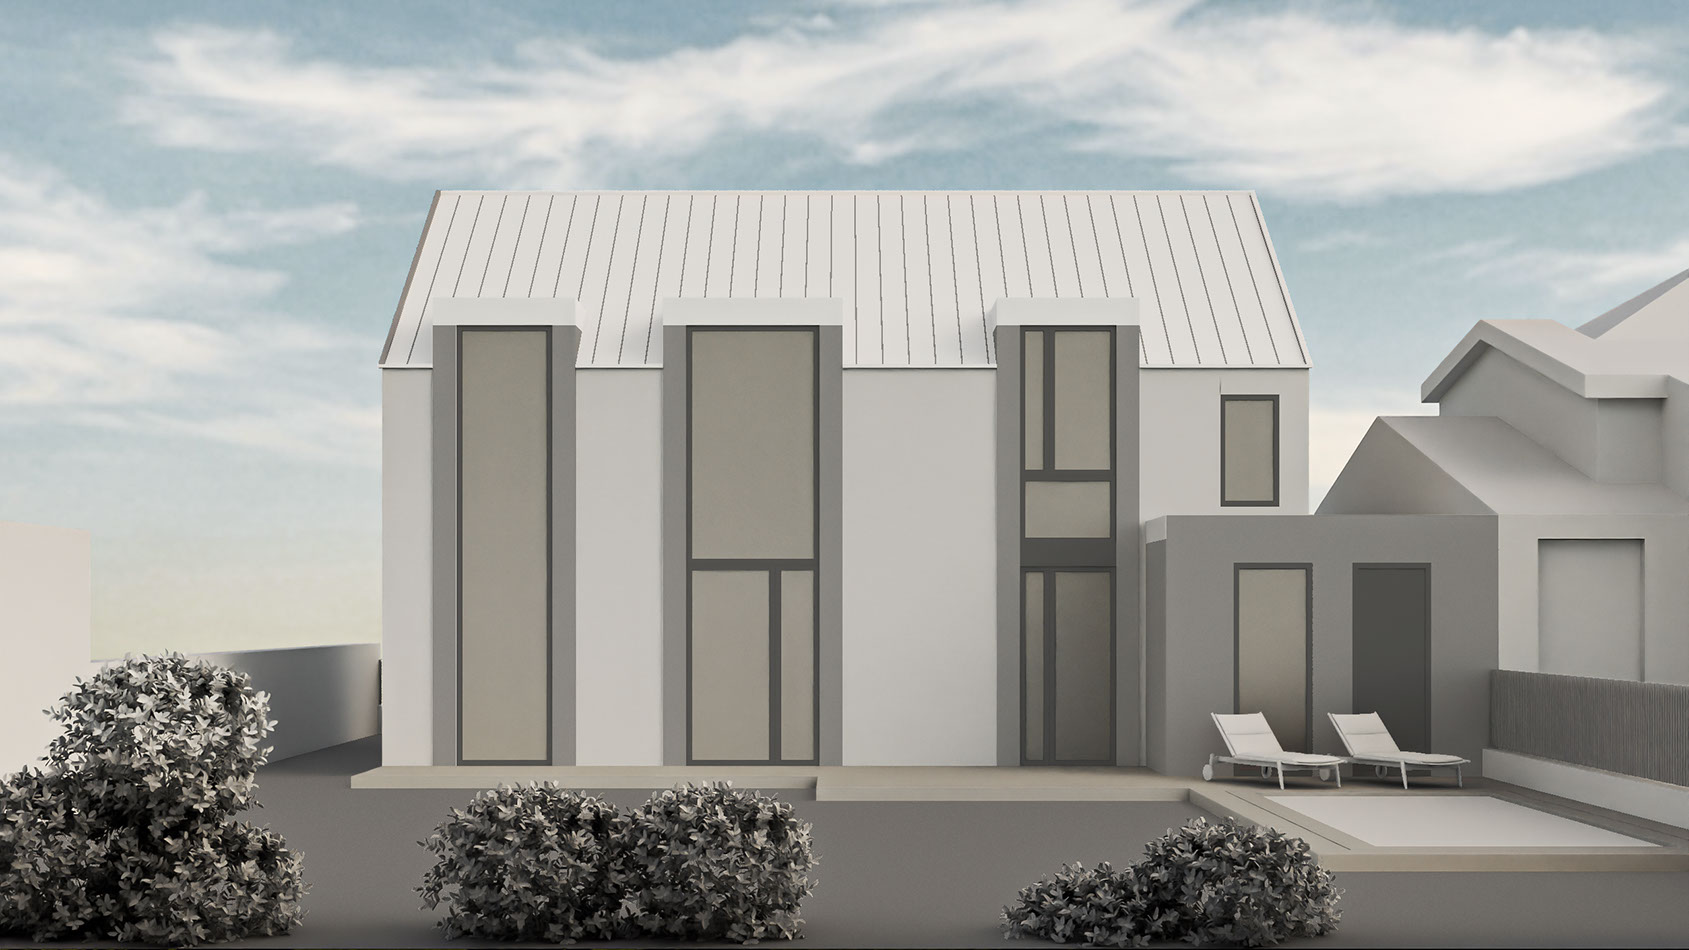
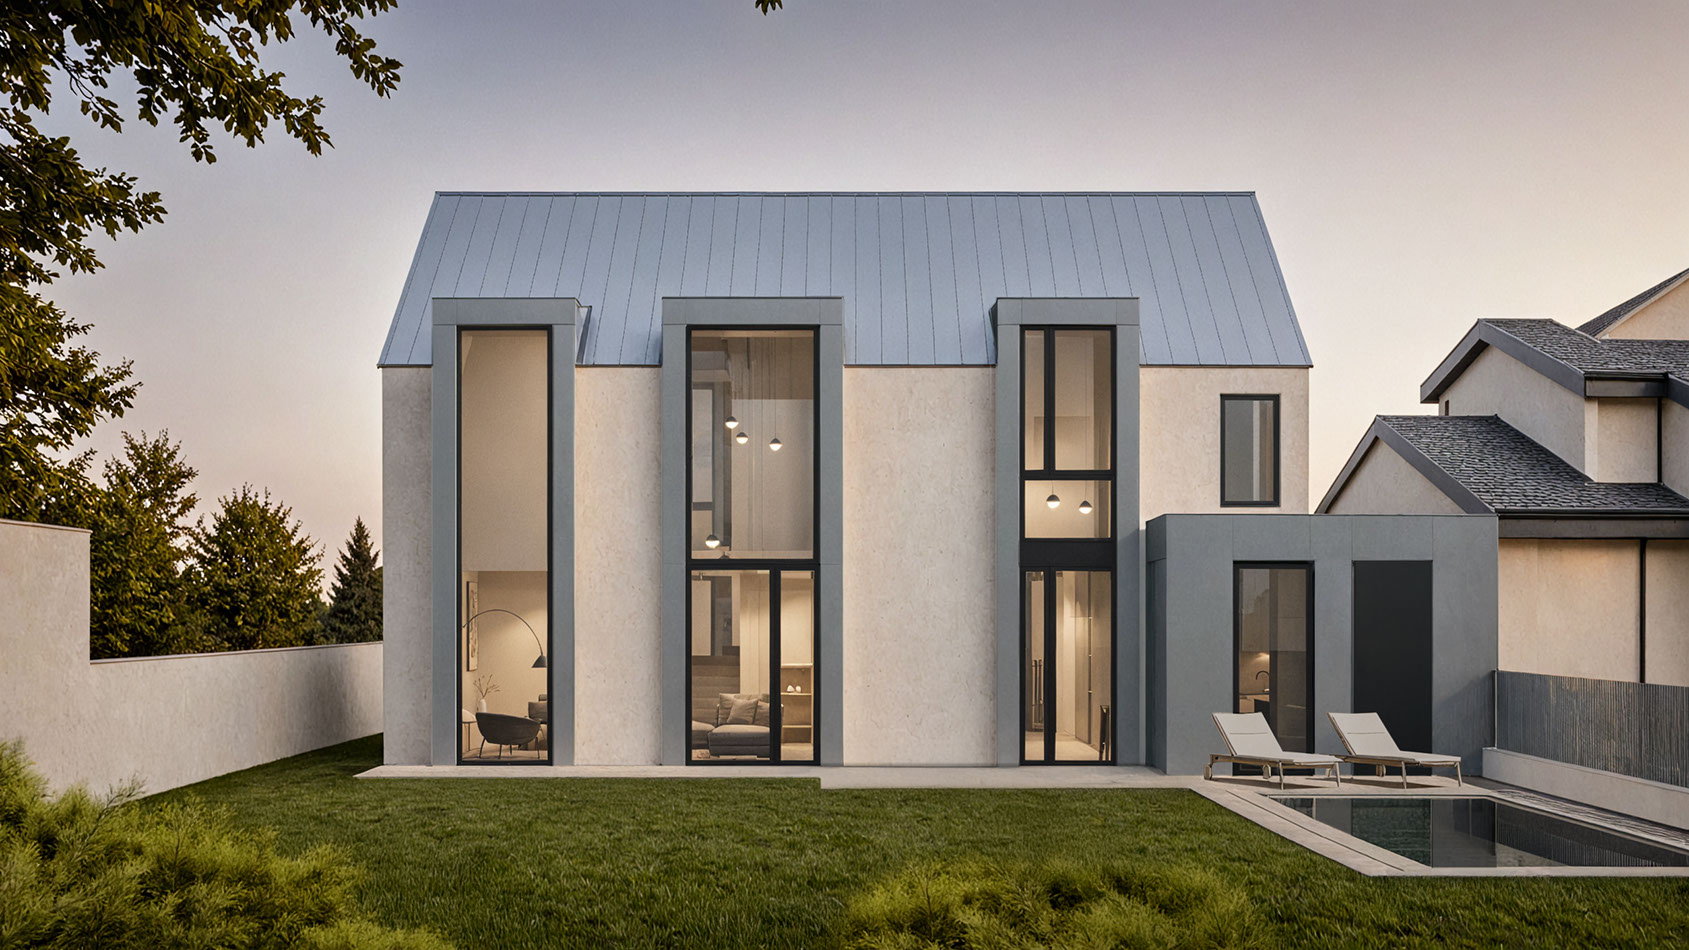
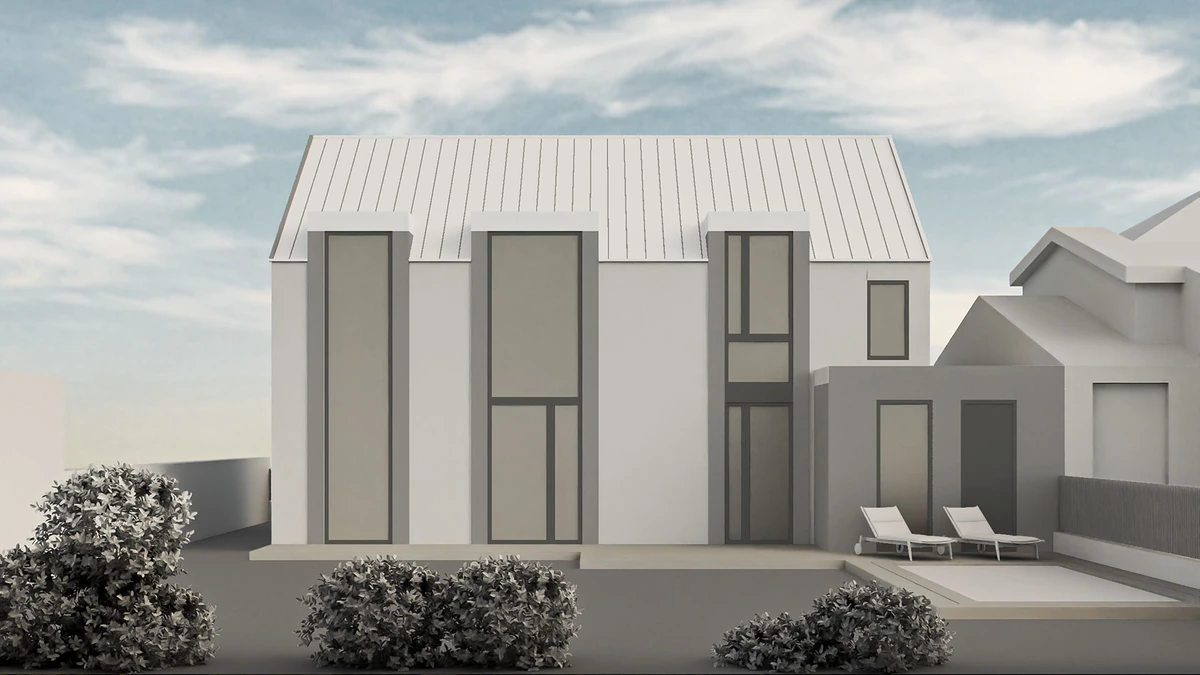
Published Rendero model and presentation images of the same facade. The original prompt, engine, settings, attempts, time and credit use were not recorded with these files. Inspect the facade example and its evidence limits
See the details to inspect around a selection
How credits work
Free accounts receive 50 starting credits once at signup. These credits do not refill each month.
Rendering charges vary with the model, resolution and, for some engines, processing time. Upscaling uses additional credits. The app shows your remaining balance.
Allow for retries and edits when planning a project. A credit balance does not represent a fixed number of finished images.
Working from an architectural image
Rendero accepts sketches, clay renders, exported model views, existing visuals and reference images. You prepare a base image, choose the available rendering settings and generate a visual version to review. The source model stays in your modeling application.
For a local material study, select a scene segment and use prompt or reference guidance to describe the finish. Check the boundary before rendering, then inspect the output around frames, corners and adjoining surfaces. Segmentation helps direct the edit; generated openings and details can still change.
See the SketchUp workflow, clay render workflow and segment review guide for image preparation and review steps.
Rendero's listed paid plans
The pricing page lists the following monthly plans per person. Credit use depends on the model, resolution and operation; an allowance is not a fixed number of finished images.
| Plan | Price / month | Monthly credits | Intended use |
|---|---|---|---|
| Lite | $19 | 300 | A few images a month, student concepts, early ideas |
| Starter | $39 | 700 | Regular creative work and early client visuals |
| Studio | $99 | 2,500 | Architects and studios running multiple projects |
| Pro | $299 | 9,000 | Teams and power users with high rendering volume |
Free accounts receive 50 starting credits once at signup. These credits do not refill each month.
Available engines and resolutions depend on your plan. Check the options in your account before choosing an engine for a project. Higher plans can change model access as well as available volume.
Reviewing a result before presentation
Use a source image from your normal workflow and define the change you want to make. Keep the source alongside the generated version so you can check the camera, silhouette, openings and material boundaries. Record preparation, retries, correction time and credit use before deciding whether the result is useful.
Our comparison of eleven rendering tools covers documented input and editing workflows. Other products also accept images and offer selected-area edits; compare the controls needed for your task.
Read Rendero's product facts and limitations and the current plans, then try the workflow with an image from your own project.